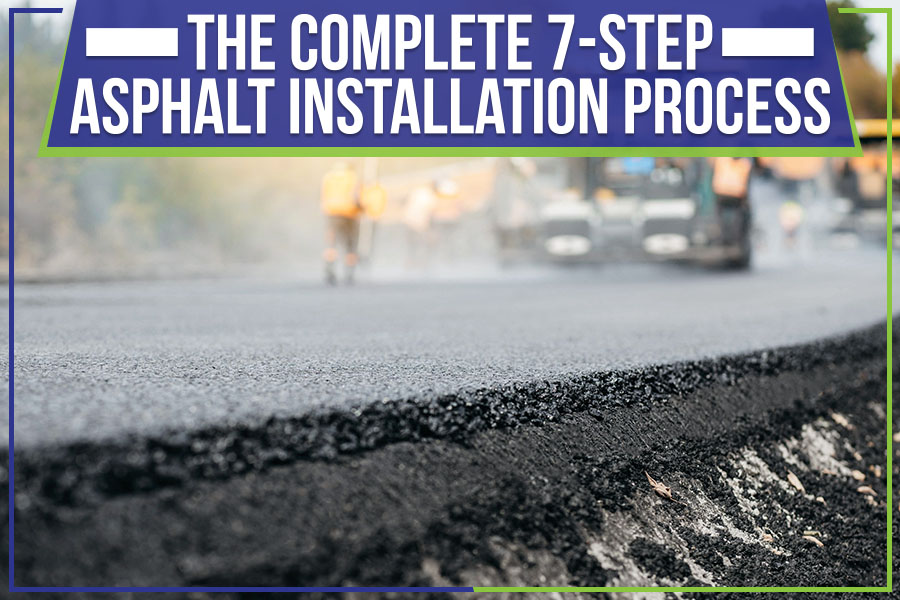
We all know that asphalt is the go-to material for paving driveways, parking lots, and roads. But unless you’re a professional contractor, you may not know the complete installation process. Even with small scale amateur paving projects, mistakes are bound to happen so it helps to have some pro counsel on hand!
This blog post will outline the seven steps involved in installing asphalt safely. So, whether you’re embarking on a DIY paving project or hiring a professional, read on for everything you need to know about installing asphalt pavement!
1) Remove the Existing Surface –
Professional asphalt pavers begin by removing the existing surface. Many contractors use heavy machinery such as backhoes and bulldozers to scrape away the surface. If you’re undertaking a DIY project, you can use a shovel or pickaxe to pry up the surface layer.
2) Grading and Sloping –
Once the contractors remove the existing surface, they begin grading and sloping the ground to ensure efficient drainage and that water runs off the pavement. This step is critical in preventing puddles and ice from forming on your asphalt’s surface.
3) Add a Base Course –
The base course is a layer of crushed gravel that provides stability and support for the asphalt. The sub-base acts as a frost barrier, reducing the harmful effects of the freeze-thaw cycle. During the installation, ensuring base thickness is essential to the longevity of your asphalt.
4) Proof Roll, Undercutting, and Sub Base Repair –
Once the professional’s grade and compact the sub-base, they proceed to the next step: proof rolling. This is a process of using a large, heavy roller to compact the surface and remove any potential air pockets. After that, they’ll use a skid steer to undercut the asphalt around all the edges. This ensures a smooth transition from the asphalt to the surrounding surfaces.
5) Binder and Surface Course –
A binder is a liquid asphalt applied to the surface course to help seal any potential cracks and protect it against wear and tear. The surface course is the top layer of asphalt, and it’s what you’ll see when you drive or walk on it.
6) Install New Asphalt Surface –
After the professional installation of the support structure, binder, and surface course, it’s time to put new asphalt in place. Teams use two layers: the first layer is a hot mix of asphalt poured over the surface course, and the second layer is a finishing layer applied on top.
7) Final Touches –
Once the asphalt has had enough time to cool and set, usually around 24 hours, you still need to put in a few final touches. The area needs cleaning, remove all excess materials, and then the professionals will leave you with a beautiful and smooth new asphalt surface!
If you need a new parking lot or driveway, 309 Paving Services has the perfect solution. We offer a full range of asphalt installation services, and our team is equipped to handle both commercial and residential projects.
Contact us today to get a free estimate for an asphalt paving project in The Greater Peoria region.
Connect with us


- September 2023
- August 2023
- July 2023
- June 2023
- May 2023
- April 2023
- March 2023
- February 2023
- January 2023
- December 2022
- November 2022
- October 2022
- September 2022
- August 2022
- July 2022
- June 2022
- May 2022
- April 2022
- March 2022
- October 2019
- September 2019
- August 2019
- July 2019
- June 2019
- May 2019
- March 2019
- February 2019
- December 2018
- September 2018
- August 2018
- July 2018
- June 2018
- May 2018
- April 2018
- March 2018
- December 2017
Archives
Categories
Upgrade Your Driveway Or Parking Lot Without Spending A Fortune.
We provide residential and commercial concrete and blacktop services in the greater Peoria, Illinois area. All of your concrete and blacktop paving needs in one place!
Follow Us:
Quick Links
| Hours | |
|---|---|
| Monday | 8:00AM - 4:00PM |
| Tuesday | 8:00AM - 4:00PM |
| Wednesday | 8:00AM - 4:00PM |
| Thursday | 8:00AM - 4:00PM |
| Friday | 8:00AM - 4:00PM |
| Saturday | Closed |
| Sunday | Closed |